Adobe released Premiere mobile for Android on 22 September 2026. The current Google Play listing confirms that the app is available now, while Adobe’s launch post explains which tools are present and which features are still planned.
This guide is for creators deciding whether they can cut a Reel, Short, interview clip or product video entirely on an Android phone. It does not assume that a mobile app replaces a desktop edit for every project.
What is available now
According to Adobe’s launch announcement and the current Play listing, Premiere mobile on Android includes:
frame-accurate trimming and splitting;
a multi-track timeline for video, music, voice-over, text and effects;
Enhance Audio for reducing distracting background noise and improving speech clarity;
templates, transitions, speed controls and extracted audio;
device and cloud-file imports;
exports up to 4K;
free exports without ads or a watermark.
Adobe says the app can be downloaded without a forced login and that the core editing tools are free. Firefly generative features use credits, and additional credits or storage may require payment.
Device requirements
Adobe’s announcement specifies Android 13 or later and at least 5GB of RAM. The Play listing also states that 5GB RAM is required to download the app.
Meeting the minimum does not guarantee smooth 4K editing. Codec complexity, clip length, available storage, heat and background apps can all affect a phone. That performance guidance is a practical caution, not a benchmark measured by KuchhBhi.
A practical mobile workflow
1. Test compatibility before committing a deadline
Install the official Adobe Premiere: Video Editor listing from Google Play. Confirm that the phone can open the app and import one representative source clip.
Before editing a client job, make a 15-second test containing the same resolution, frame rate and audio format as the real footage. Export it once and inspect the result. This exposes compatibility problems before hours of work are invested.
Keep enough free storage for source clips, cache files and at least one finished export. Preserve the camera originals somewhere separate; a mobile project should not be the only copy.
2. Decide the delivery format first
For a Reel or Short, start with a vertical project and keep important faces, products and subtitles away from interface-covered edges. For a horizontal YouTube video, do not crop every shot vertically just because the edit happens on a phone.
Choose a realistic delivery resolution. A 4K source can be useful for reframing, but a 1080p delivery may be more practical when the phone overheats, storage is tight or the upload connection is slow.
3. Build the story before adding effects
Place the strongest moment first, then arrange the remaining clips around a clear beginning, development and payoff. Trim pauses and repeated information on the frame-accurate timeline.
A simple 30-second product demonstration might use:
a two-second result shot;
a five-second problem setup;
three short process steps;
a close-up showing the finished result;
one clear call to action.
This structure is a suggested workflow, not an Adobe feature or a guarantee of retention.
4. Clean speech carefully
Listen with headphones before applying Enhance Audio. Use it on a duplicate or reversible version if the app allows, and compare the processed speech with the original.
Noise reduction can make dialogue clearer, but aggressive processing may also thin a voice, exaggerate room reflections or create metallic artifacts. Check quiet consonants, breaths and words spoken over music. If the recording is badly clipped or the microphone was too far away, an AI cleanup control cannot recreate every missing detail.
5. Treat captions as a separate quality gate
Adobe listed enhanced captions among features “coming soon” in its 22 September announcement. Do not assume that the planned caption workflow is already available on every Android device.
For a bilingual Reel, first prepare the spoken wording, names and product terms. KuchhBhi’s AI Caption Generator can provide draft social copy in English, Hindi or Hinglish, but it does not transcribe the video or place timed subtitles inside Premiere. Review any generated text manually.
If the publishing platform creates automatic captions, correct them after upload. Check names, Indian-language words, numbers and brand terms. View the final subtitles on a small phone with sound muted.
6. Check title and thumbnail separately
The edit and its packaging solve different problems. Draft the upload text, then use the Character Counter to check length without sending that text to an external service. For a YouTube cover, the Thumbnail Text Previewer can test whether a short phrase remains readable at a smaller size.
These KuchhBhi tools do not connect to Premiere or upload the finished video. They are optional preparation checks.
7. Export a short test before the final render
Export a demanding section first if the project contains several video layers, effects or processed audio. On the test file, check:
resolution, orientation and frame rate;
lip sync and music timing;
text inside safe areas;
unwanted black bars;
visible compression in faces, gradients and fast movement;
audio level changes between cuts;
playback on a second device.
After the final export, watch the entire file rather than checking only the first and last frames.
Worked example: a bilingual food Reel
Suppose a home baker records a 35-second vertical cake-decorating video in English and Tamil.
The editor can begin with the finished cake, cut the preparation into three visual steps, lower the music under spoken instructions and use Enhance Audio only where background noise competes with speech. English and Tamil subtitle wording should be checked by someone fluent in both languages.
Before publishing, the baker can verify the caption length, test a three-word thumbnail phrase and watch the export with sound muted. None of these checks promises reach; they reduce avoidable editing and communication errors.
What is not confirmed as available yet
Adobe’s launch post placed Adobe Fonts, enhanced captions, keyframes, cropping, beat detection and continued editing on Premiere desktop in the “coming soon” category. Availability may change after the source date, so check the live interface and release notes rather than following screenshots from a different version.
The mobile app also does not remove the need to manage music rights, appearance releases, customer information or truthful product claims. A watermark-free export does not mean every asset inside the edit is licensed for commercial use.
Privacy and cost considerations
The Play listing contains a Data safety section and says the app may collect and share certain data types. Read the current disclosure and Adobe privacy policy before using personal, client or confidential footage.
Adobe describes the core editor as free and watermark-free, while generative AI credits and storage upgrades can cost extra. Review the price shown in your own account before using a paid feature; pricing and eligibility can vary.
Frequently asked questions
Is Adobe Premiere on Android free?
Adobe says the core mobile editor is free, without ads or watermarks. Generative credits and extra storage can require a paid upgrade.
Can it export 4K video?
Adobe lists export up to 4K. Actual performance depends on the phone, footage and available resources, so test a short representative clip first.
Does it work on every Android phone?
No. Adobe specifies Android 13 or later and at least 5GB RAM. The Play Store may also restrict installation based on device compatibility.
Does it already have enhanced captions and keyframes?
Adobe’s 22 September announcement listed enhanced captions and keyframes as coming soon. Check the current app version before depending on them.
Can I continue the same project on Premiere desktop?
Adobe described continued editing on Premiere desktop as forthcoming, not as a universally available launch feature.
Is this a hands-on KuchhBhi review?
No. Feature and requirement statements come from Adobe’s announcement and the live Google Play listing. The step-by-step editing plan is an editorial workflow, not a performance test or screenshot-based review.
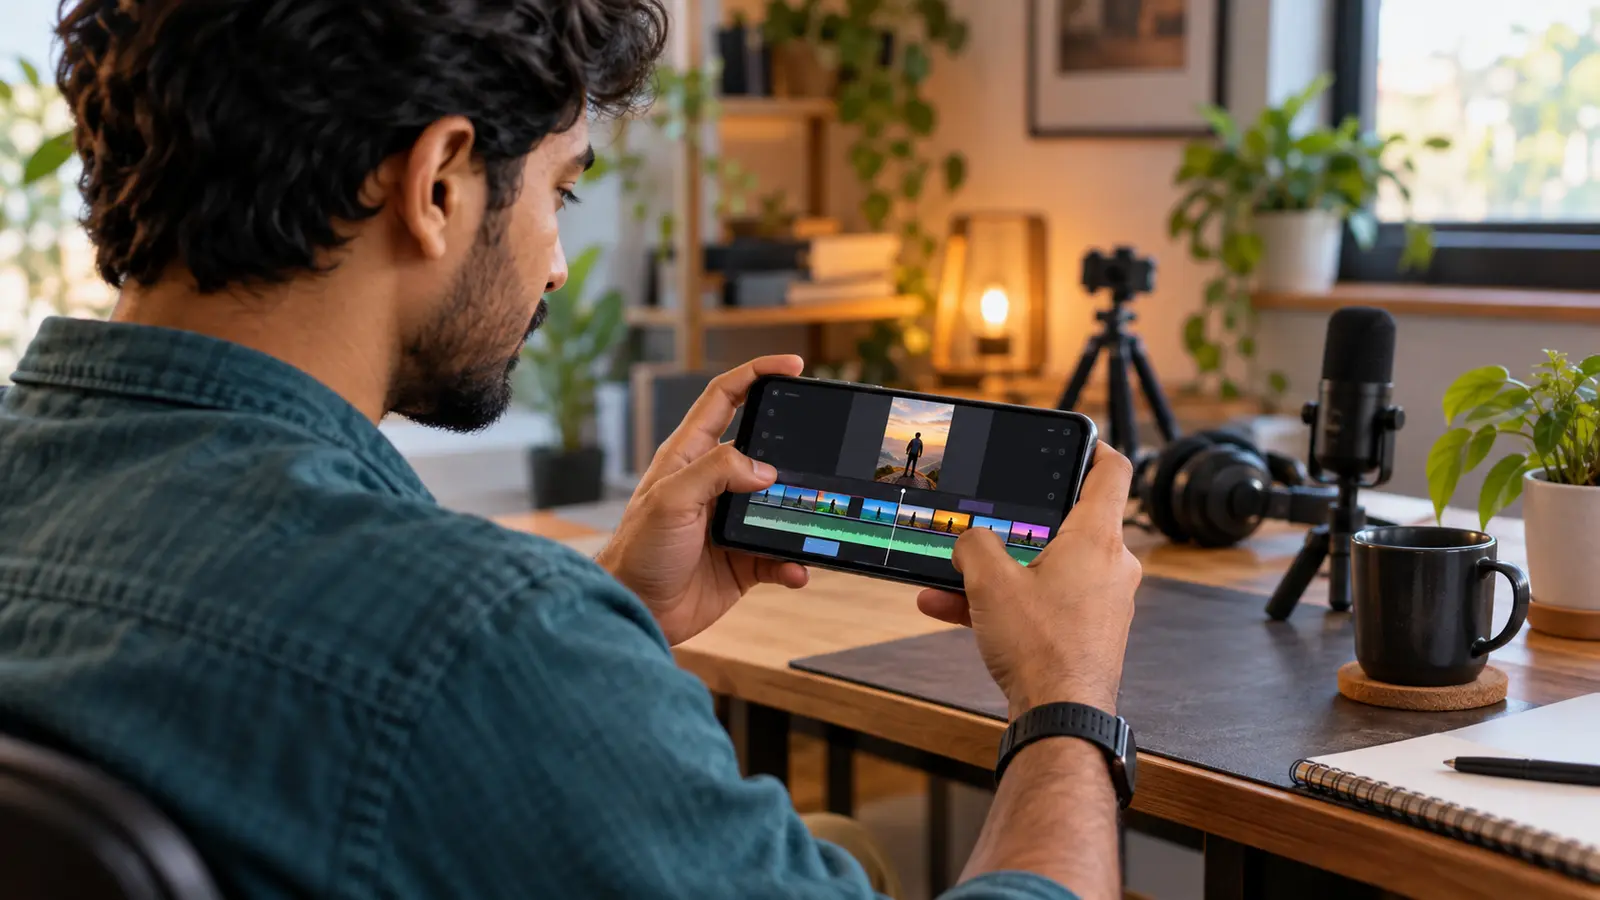
Cover disclosure: AI-generated editorial illustration created specifically for this guide. It is not an Adobe interface screenshot and does not depict a documented user test.