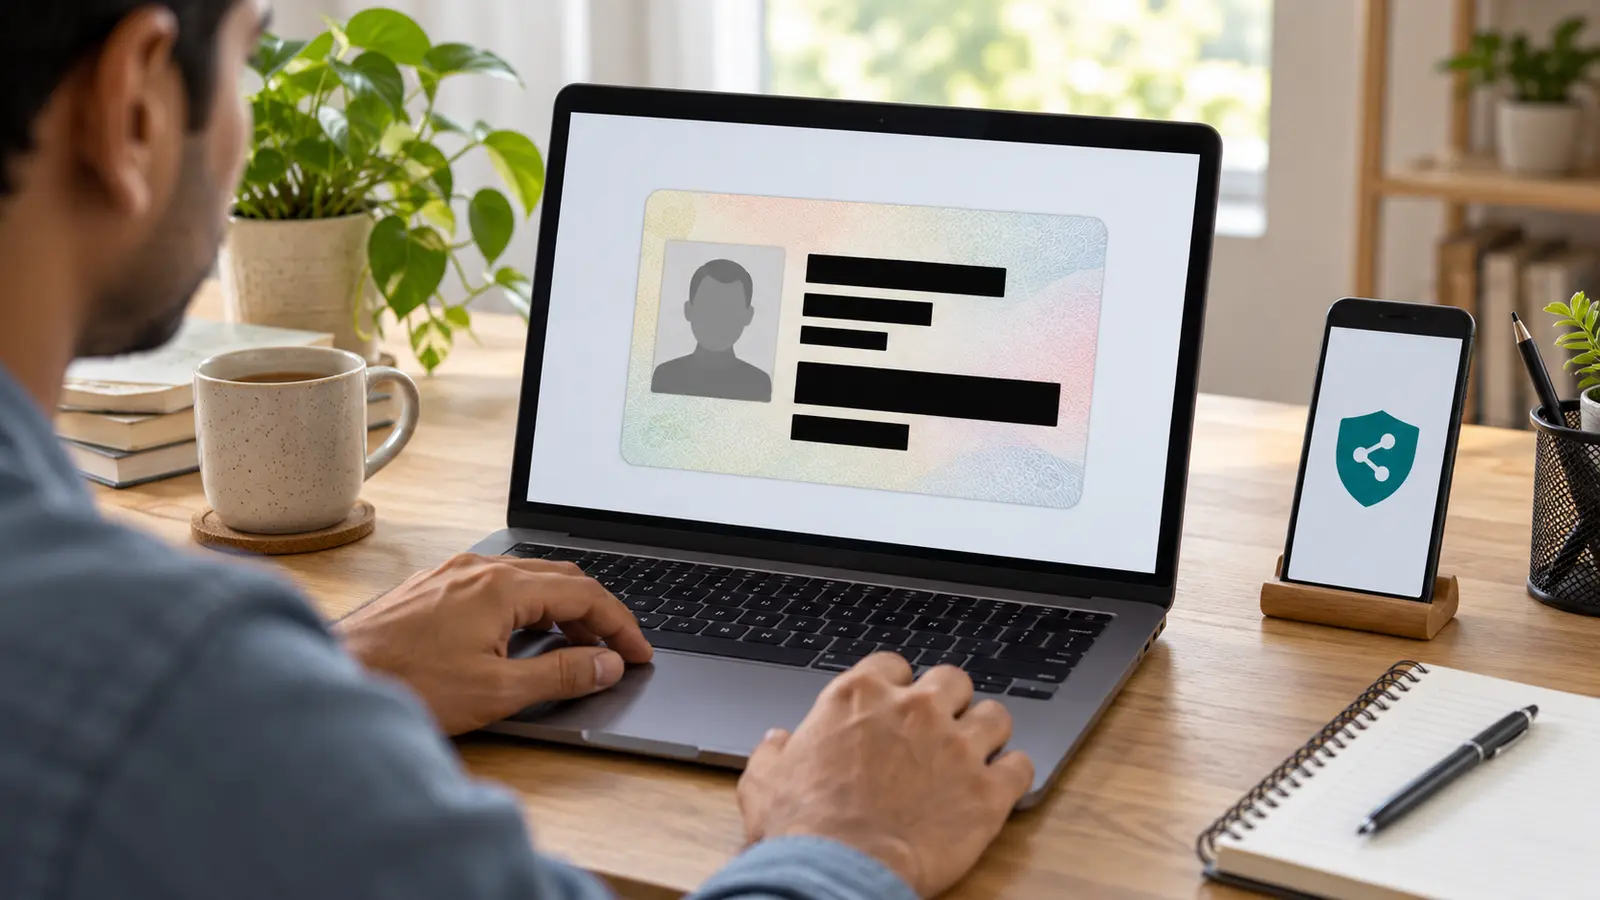
AI-generated editorial illustration of a generic redaction workflow. It does not show a real Aadhaar card, person, government interface or document.
Sharing an identity document should be a minimum-data decision, not an automatic attachment. If a service only needs to confirm part of your identity, sending an unedited Aadhaar photo can expose more information than the task requires: the full number, address, date of birth, portrait and a machine-readable QR code.
The safest first step is to ask the recipient what they actually accept. An official Masked Aadhaar, Aadhaar Paperless Offline e-KYC, or a different document may be more appropriate than a manually edited image. If the recipient specifically accepts a redacted photo, the free KuchhBhi Aadhaar Image Masker gives you a simple browser-based way to place solid black blocks over sensitive areas and export a flattened PNG.
This guide explains how to use that workflow, what to cover, what the tool cannot guarantee, and when you should use an official UIDAI option instead.
Manual redaction is not the same as official Masked Aadhaar
UIDAI defines Masked Aadhaar as an official Aadhaar download in which the first eight digits are replaced with “xxxx-xxxx” and only the last four digits remain visible. You can obtain it through UIDAI’s official Aadhaar Online Services.
Drawing black boxes on a photo creates a manually redacted copy. It does not turn that image into UIDAI-issued Masked Aadhaar, does not add an official digital signature, and may not satisfy a bank, KYC provider, employer, government portal or other verifier.
Use this decision order:
Need to resize images?
Resize photos for forms and exact upload dimensions.
Use a manually redacted photo only when the recipient accepts that format.
If the request is unclear, pause before sharing.
Paperless Offline e-KYC is particularly useful when supported because UIDAI says it can share identity information without revealing the Aadhaar number itself.
What should you hide?
There is no universal redaction template because the required data depends on the legitimate purpose. Apply data minimisation: leave visible only what the recipient genuinely needs.
For a request that accepts a masked copy, you may need to cover:
The first eight digits of the 12-digit Aadhaar number, leaving only the last four visible if those are required.
Any repeated Aadhaar number elsewhere on the image.
The address, date of birth, gender or photograph when those fields are not required.
Phone numbers, email addresses, enrolment identifiers or other reference numbers if present and unnecessary.
The QR code or barcode when the recipient does not need to verify it.
Information visible in the background, such as another document, screen, envelope or handwritten note.
Do not alter a name, date, photograph or other field to misrepresent identity. Redaction is for withholding unnecessary information, not changing the meaning of a document.
The QR code needs a separate decision
Covering the printed Aadhaar digits is not the same as removing data stored in the QR code. UIDAI’s Secure QR Code Reader FAQ says the secure QR code contains the last four Aadhaar digits along with demographic information and the holder’s photograph; it can also include masked contact details.
If the recipient does not need QR verification, cover the entire QR code with an opaque block. If the recipient does require it, use the official document or verification process they specify. Do not leave half a QR code exposed and assume it is harmless or usable.
How to redact an Aadhaar photo with KuchhBhi
1. Prepare a clean working copy
Take a clear, straight photo in good light or use the image you received from an authorised source. Avoid including your desk, other documents, notifications or reflections. Work on a copy so you retain the original securely if it is legitimately needed later.
Do not upload or edit another person’s identity document without their permission.
2. Open the browser-based masker
Go to the Aadhaar Image Masker and choose the image from your device. The released tool reads the selected image in your browser and draws on an HTML canvas; it does not use a remote redaction API.
Browser-side processing reduces unnecessary transfer, but you should still use a trusted device, an updated browser and a private environment.
3. Draw solid blocks over every sensitive area
Drag across the first sensitive area to place a solid black rectangle. Repeat for every copy of the number and every unnecessary field. Make each rectangle slightly larger than the characters underneath so no edges remain readable.
Prefer solid opaque blocks over blur or pixelation. Weak blur can leave character shapes recognisable, especially after sharpening or resizing. A solid block is easier to inspect.
4. Check the whole image, not only the number
Zoom or inspect the preview carefully. Look at all corners, both sides if you photographed multiple surfaces, and any smaller repeated number. Decide separately whether the portrait, address, date of birth and QR code are needed.
If a block is misplaced, use Clear All and start again. A clean second pass is safer than leaving a narrow gap.
5. Download the flattened PNG
Select Safe Download. The tool exports the canvas as a PNG named similar to “masked-document-kuchhbhi.png”. Because the blocks are painted into the exported image, they are not editable annotation layers that a recipient can simply switch off.
However, never treat the button label as a guarantee. Open the downloaded PNG itself and verify the final pixels before sending it.
6. Inspect at 100% and test the crop
Open the saved file in a normal image viewer. Check it at 100% zoom and on a phone-sized screen. Confirm that:
every intended field is fully covered;
no thumbnail, reflection or second copy remains;
the QR code is either fully available for an approved verification need or fully hidden;
the last four digits are correct if you intentionally left them visible;
the image has not been cropped in a way that changes its meaning;
the recipient can still read the fields they legitimately need.
7. Send only the final copy
Attach the newly downloaded PNG, not the original photo. Check the filename and preview in the chat, email or upload form before pressing send. If a platform generates its own preview, inspect that preview too.
After the task is complete, remove unnecessary working copies from shared chats, downloads, synced folders and trash according to your device and organisation’s retention rules. Deletion behaviour differs across services, so do not assume removing a message erases every copy.
Important limitations of the tool
Acceptance is not guaranteed
A manually edited image may be rejected by a regulated KYC flow, bank, telecom provider, government service or employer. The recipient may require an official digitally signed Aadhaar download, a live verification step, or another document. Confirm requirements before editing.
Download resolution may be lower
The current tool draws the image onto a canvas sized to the displayed container. On some screens, the exported PNG can therefore be smaller than the original photo. It is suitable for ordinary visual sharing when accepted, but not for a workflow that requires the original pixel dimensions, a digitally signed PDF or forensic-quality reproduction.
Metadata should still be checked
The export is created from the browser canvas and does not deliberately copy the original file’s metadata. Even so, do not promise that every device, browser or later sharing app will remove all metadata. Inspect the final file with a trusted metadata viewer if location or device data is a concern, and remember that messaging services may create additional copies.
Black bars protect only the exported image you checked
A correctly flattened opaque block should replace the covered pixels in that exported PNG. It cannot protect an original image that remains in your gallery, cloud backup, clipboard, email draft or chat history. Never send the layered source from another editing app unless you understand how that format stores annotations.
A practical example
Suppose a local service asks for an Aadhaar image to match your name and the last four digits. Before sending anything, ask whether official Masked Aadhaar is acceptable. If it is, download that from UIDAI.
If the service explicitly accepts a redacted photo, leave the name and last four digits visible, cover the first eight digits, cover the address and date of birth if they are unnecessary, and ask whether its verifier needs the QR code. Export the PNG, open it separately, and check every block before attaching it.
That workflow reveals less than sending the untouched image while preserving the information the recipient said it needs.
Frequently asked questions
Which Aadhaar digits should I hide?
UIDAI’s official Masked Aadhaar format hides the first eight digits and shows the last four. For a manual image, confirm the recipient’s requirements and reveal no more than necessary.
Is a manually redacted photo an official Masked Aadhaar?
No. Official Masked Aadhaar is generated by UIDAI. A photo edited with black boxes is only a manually redacted copy and may not be accepted for verification.
Does hiding the printed number also hide the QR data?
No. The QR code is a separate machine-readable element. Cover it completely when it is not required, or use an official verification method when it is required.
Will a bank or KYC portal accept the edited image?
Not necessarily. Many formal processes specify exact documents or verification methods. Check first; use the official UIDAI download or approved KYC flow when requested.
Does KuchhBhi upload my image?
The released masker performs its image reading and canvas redaction in the browser and does not call a redaction API. As with any sensitive task, use a trusted device and verify the final downloaded file.
Can I use the tool for PAN or another ID?
The drawing tool can place opaque blocks on other image files, but each document has different verification rules. Do not hide fields a legitimate verifier requires, and never use redaction to misrepresent identity.
Can someone remove the black bars?
In the downloaded flattened PNG, the blocks are painted into the pixels rather than stored as removable annotation objects. Still, inspect the exported file and make sure you send it instead of the original or a layered editing file.
Will the download keep the original quality?
Not always. The current canvas follows the displayed container width, so the PNG can be smaller than the source. Use the official document workflow when exact resolution, digital signatures or original PDF structure matter.